Making bees wax wraps at home is easier than… dealing with uncooperative cling wrap! Unlike plastic wraps, natural bees wax wraps are 100% reusable, so your Vegemite sandwich won’t cost the earth!
How to make bees wax food wraps at home
Bought to you by Simply Honey’s Beeswax
My family and I now make bees wax wraps at home, and it’s so easy to do. My kids love that they “made it themselves” and we’ve chosen colours and designs that make lunchboxes special.
Beeswax food wraps are an eco-friendly, reusable alternative to plastic wrap. They cover and cling to your bowls just like plastic wrap – without the waste and drama that can accompany plastic wrap!
Bees wax reusable food wraps are great:
- As a reusable alternative to snack/sandwich bags.
- For wrapping snacks, fruit, vegetables, cheese, bread, and more.
- In place of cling wrap over a bowl or other container.
Teaching kids about plastic pollution
Helping your children to learn how to make reusable beeswax wraps is an excellent practical and simple way to bring their school curriculum and environmental passions to life. If you’ve got yourself a little kinaesthetic learner, a “learn by doing” project on how to make bees wax reusable food wraps is the perfect way to re-enforce environmental values.
FYI, it takes plastic wrap or cling wrap 25 years to break down and a plastic bag about ten years.
For the planet and for fun!
Learning how to make beeswax wraps isn’t just practical, it’s a fun kitchen chemistry activity suitable for crafty parents and curious kids. Unlike the leading brands of cling film (plastic wrap) natural, homemade bees wax wraps do not contain PVC (Polyvinylidene Chloride) or LDPE (Low-Density Polyethylene).
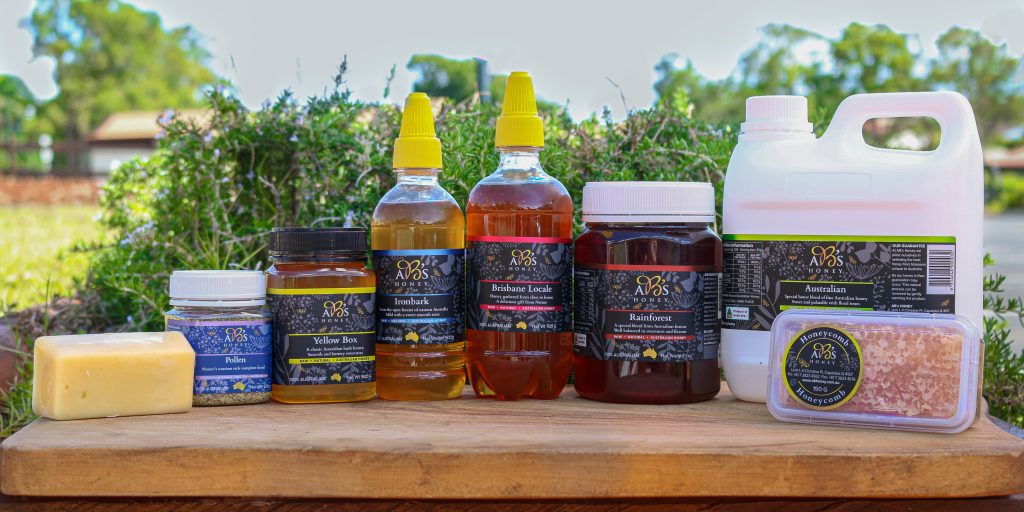
To make beeswax reusable food wraps, you’ll need some natural products that are all easily available in Australia.
- Pure Australian beeswax
- Powdered pine resin (literally pine tree sap)
- Pure Australian coconut or jojoba oil
- Cotton squares, in the colours and designs of your choosing. Have some fun with this!
At the end of your bees wax cooking session, you’re left with the perfect kitchen aid, for sealing in freshness in the fridge, the lunch box or the picnic basket.
How do bees wax wraps seal food containers for freshness?
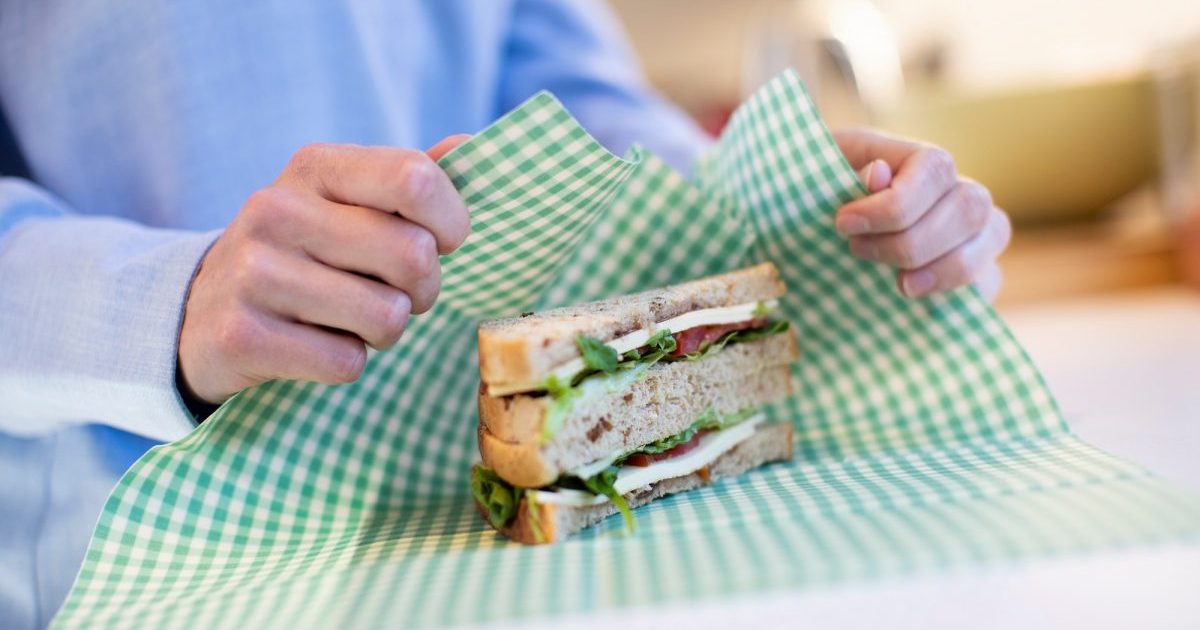
Bees wax wraps adhere and seal just like cling film but without the nasties found in soft plastics. The warmth of your hands creates a temporary, strong and airtight seal. It’s simple. Firmly press or pinch the wrap around the container or food item, and you’re done!
Why beeswax?
Beeswax is the best wax to use as it does not impart any flavours onto the food. It is a natural substance that has antibacterial and antifungal properties, providing protection against contamination. Beeswax is both waterproof and breathable so you can protect your food, and it won’t ‘sweat’. Beeswax keeps your food fresher for longer. The quality of the beeswax you use for your wraps matters. Choose 100% natural Australian beeswax that has undergone minimum processing (no added nasties) to ensure the quality and longevity of your wraps.
Why our family LOVE our beeswax wraps
Not going to lie, our family takes our craft projects pretty seriously. Our selection of reusable beeswax wraps include reclaimed school uniform fabric, a rainbow of kid-approved designs, and one very special wax wrap.
My daughter’s all time favourite t-shirt that she loved (aka wore to death) has now been reclaimed, recycled and re-invented as her go-to lunch wrap. We simply cut the shirt to shape and boiled it before adding it to the pile of cotton squares.
“Security blanket in the lunchbox” reasons aside, we love our food wraps for so many reasons!
Long-lasting food freshness
Beeswax wraps are completely breathable, in a good way! They do not make your food sweat, dry out, or lock in unnecessary moisture. By being breathable, beeswax wraps will slow down the rate of mould growth. It is like putting an extra skin on your vegetables.
Versatility
Beeswax wraps are incredibly versatile. From wrapping sandwiches for school lunches to covering bowls of leftover food. You can use these wraps as lids on drink bottles or your carafe if outdoors. Beeswax wraps are slightly heavier than plastic cling wrap and so can be placed gently over open containers in the kitchen without the worry of them flying away. Great for picnics, busy kitchens, and even a great wrap cover for that kebab!
Washable
There is no need to throw these wraps in the washing machine or dishwasher. Thanks to the naturally occurring water-resistance of beeswax, the wraps automatically have a slight barrier to spills. However, if there is a dirty spot on your beeswax wrap, all you need to do is give it a quick wash under cold water with mild detergent and it is good to go all over again. With proper care your beeswax wrap can last up to 12 months.
Freezer friendly
Beeswax wraps can be used with all types of food in the freezer time and time again. The wraps take to the freezer without any issues, keeping the integrity of the material and beeswax. There is no need to worry about freezer burn as the wraps can completely protect your produce. However, if you plan to store your produce longer than 1 month, we suggest a more airtight option.
Durable
The durability of beeswax wraps is incredible. With a lifespan of one year, you will not need to touch that cling wrap again. Not only are you saving the environment one beeswax wrap at a time, but you will also be saving your pocket by not spending money on single-use plastic.
Environmentally friendly
Waste is one of the world’s greatest problems right now, especially in the form of plastic waste. Not only does single-use plastic end up in incredible amounts in landfill, but it can also end up in our oceans and local wildlife. Switching to beeswax wraps will ensure your household is taking steps towards a plastic-free environment.
Antibacterial
Just as honey has amazing antibacterial properties, it’s been shown that beeswax wraps also contain those exact same properties. Having these added health benefits can be important when dealing with food, and gives peace of mind to your family.
How to make wax wraps at home
If you search the internet you will find many suggestions on how to make wax wraps. Our way to make wax wraps is to use the oven and grated wax, simply because it is safe (using a low oven temperature) and easy.
You will need:
- thin cotton fabric, design of your choosing
- baking paper and baking trays
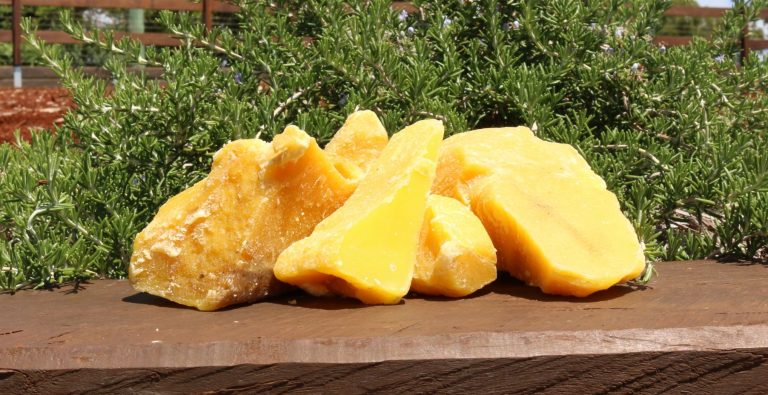
- block of pure beeswax
- powdered pine resin
- coconut or jojoba oil
Steps:
1 – The first step in making your wax wrap at home is to cut your thin cotton fabric into the size you need. Remember, when you use your wax wrap you will be overlapping the fabric, so you will need to cut your cotton fabric larger than you initially thought. A good size would be a square with dimensions around 20cm by 20cm. Depending upon the size of your oven you could probably make about four wax wraps at a time.
2 – Preheat your oven to 110 degrees Celsius or 225 degrees Fahrenheit.
3 – Line your baking trays with baking paper and place your fabric squares on top.
4 – Grate the wax using a cheese grater held above the cotton squares, ensuring that you spread the grated wax evenly.
5 – Now drizzle 2 teaspoons of powdered pine resin over each of the 20cm fabric squares. The pine resin is the ingredient that gives the cotton fabric the capacity to cling and wrap tight.
6 – Finally, drizzle ½ teaspoon of coconut or jojoba oil over the fabric.
7 – Place the baking trays into your oven and leave for five minutes. After five minutes the ingredients will have started to melt and mix. Pull the baking trays partly out of the oven and use the back of a spoon to spread the mix evenly across the cotton square. Place back in the oven for another two minutes, then remove them and leave them to cool.
You now not only know how to make wax wraps, but have made them yourself!
Looking after your homemade wax wraps
To look after your beautiful homemade wax wraps you should store them in a dry enclosed place, such as in your tea towel drawer in the kitchen or in a cotton bag.
After use, clean your wax wrap using a cloth or sponge dampened with warm water to wipe them, or wash with cold water and mild soap.
As beekeepers, we couldn’t finish this blog on how to make wax wraps without suggesting that you use natural beeswax for your new eco-friendly, reusable wax wraps.